


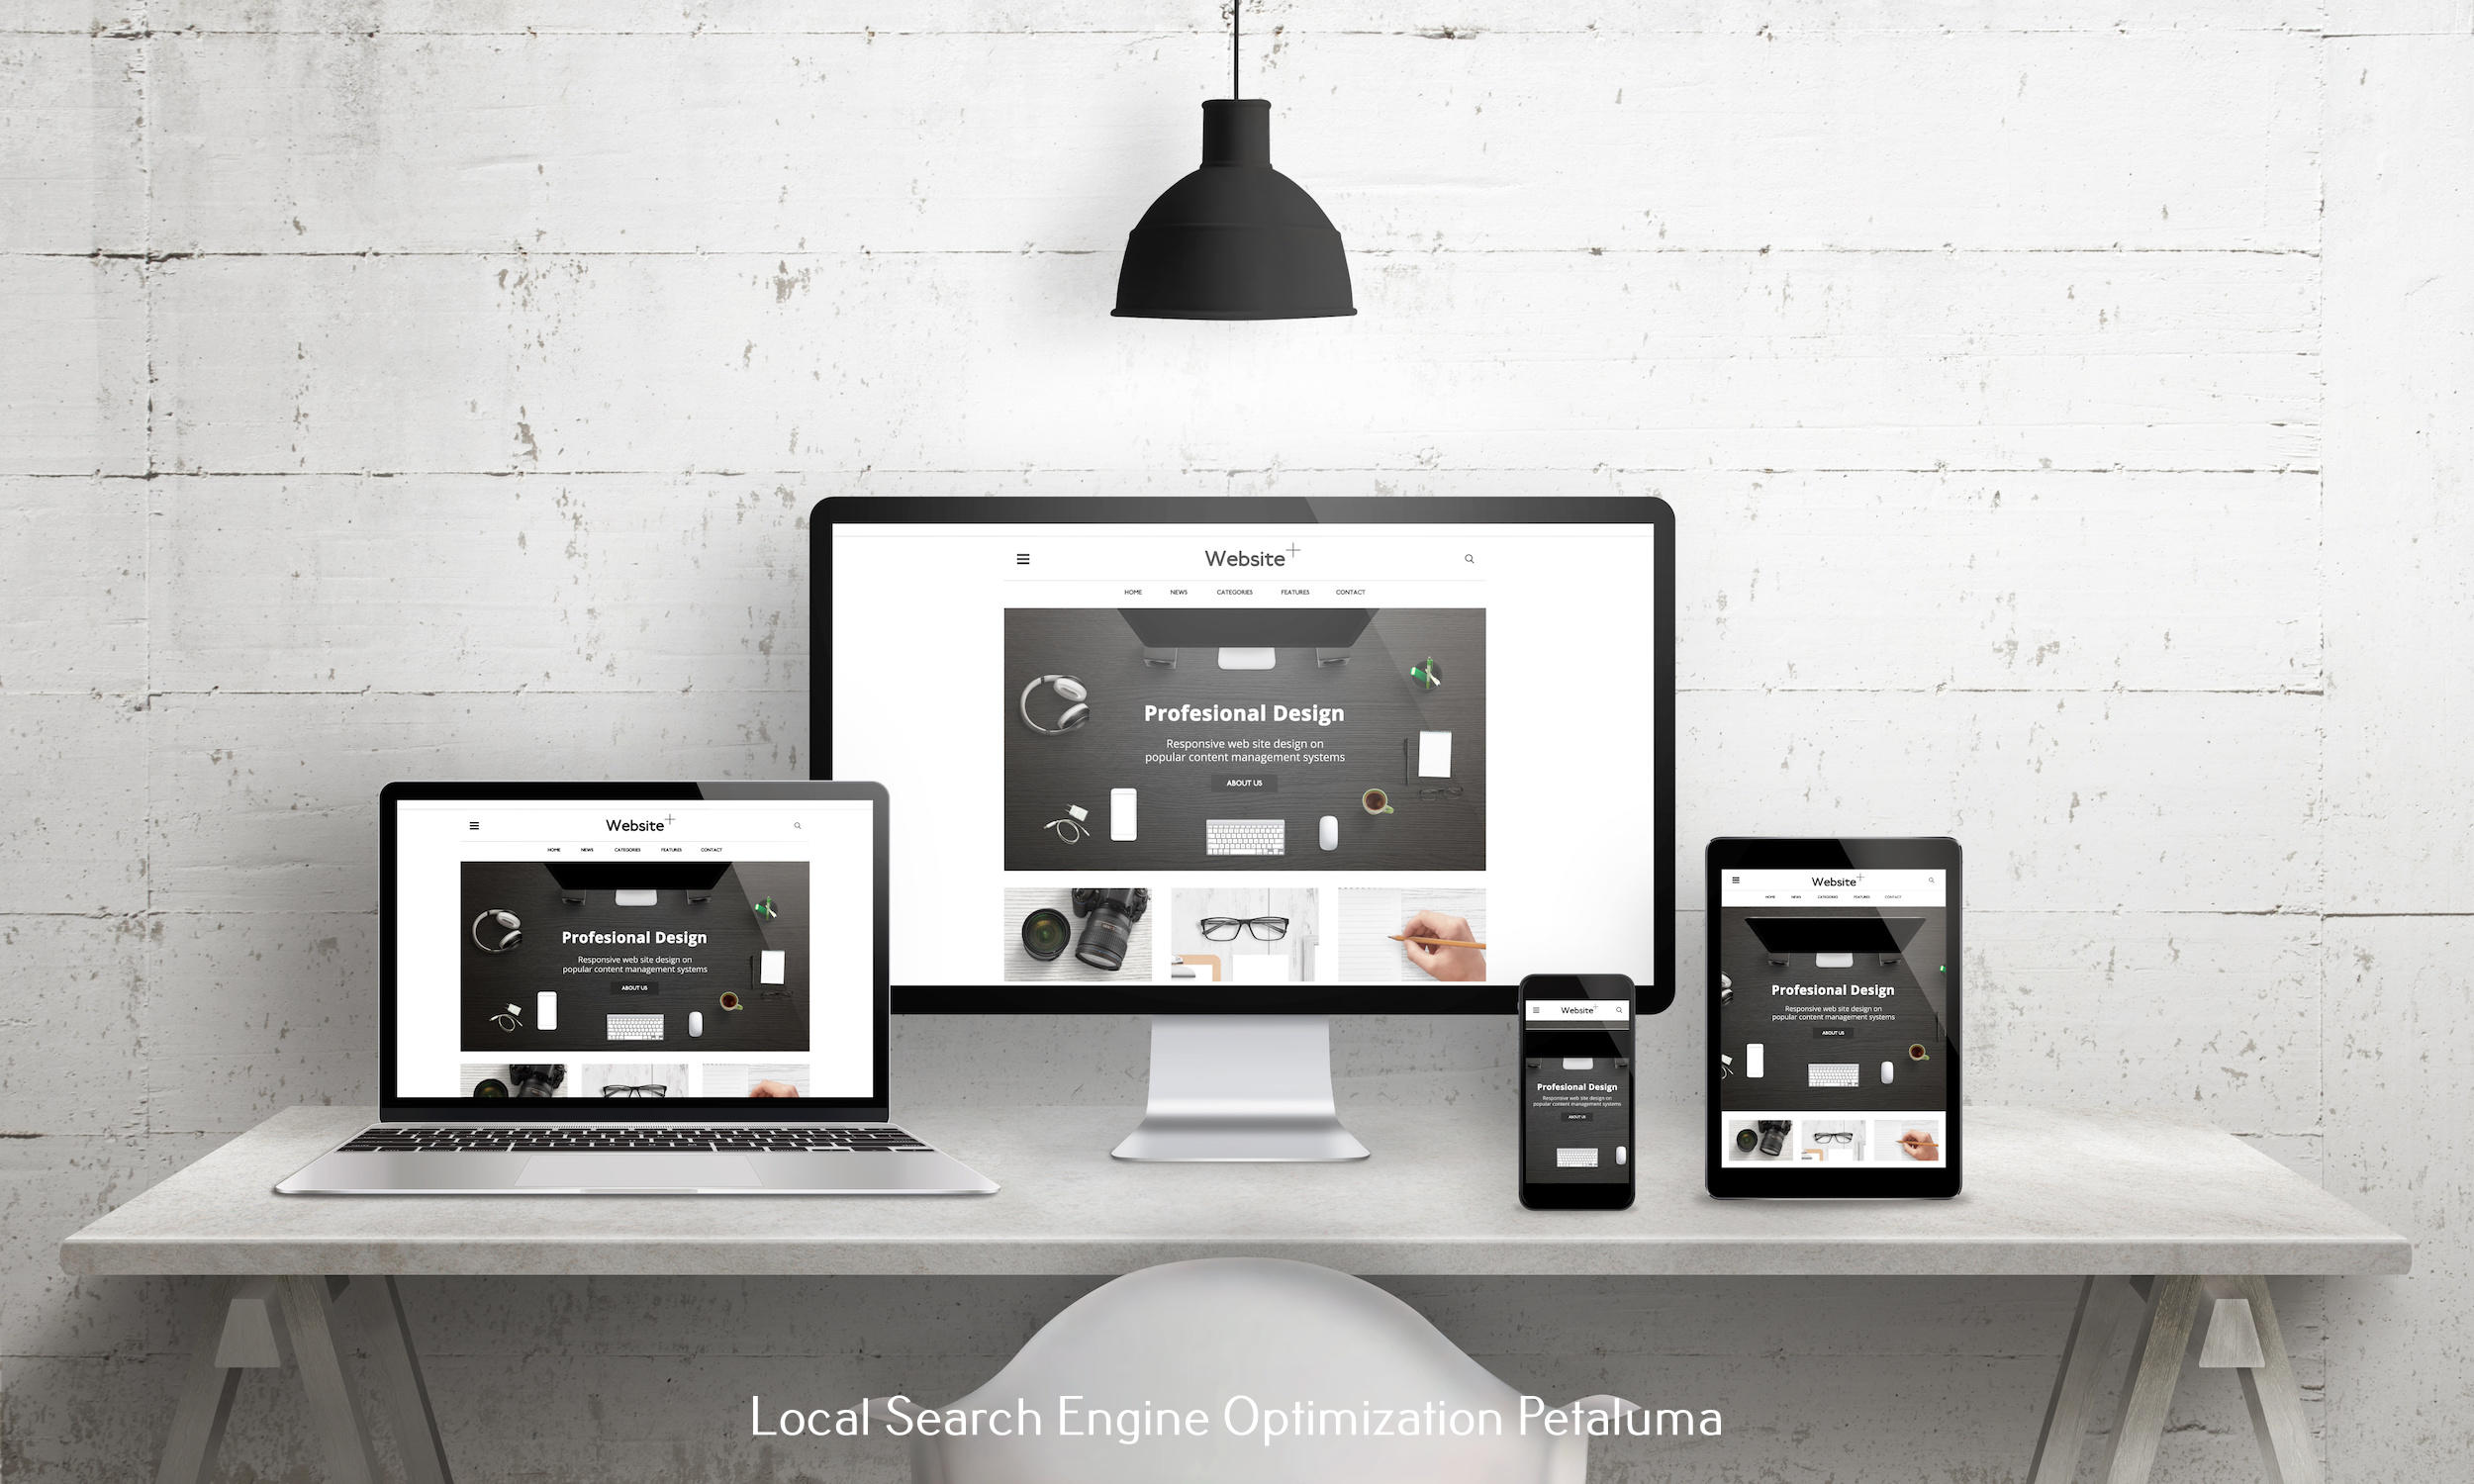


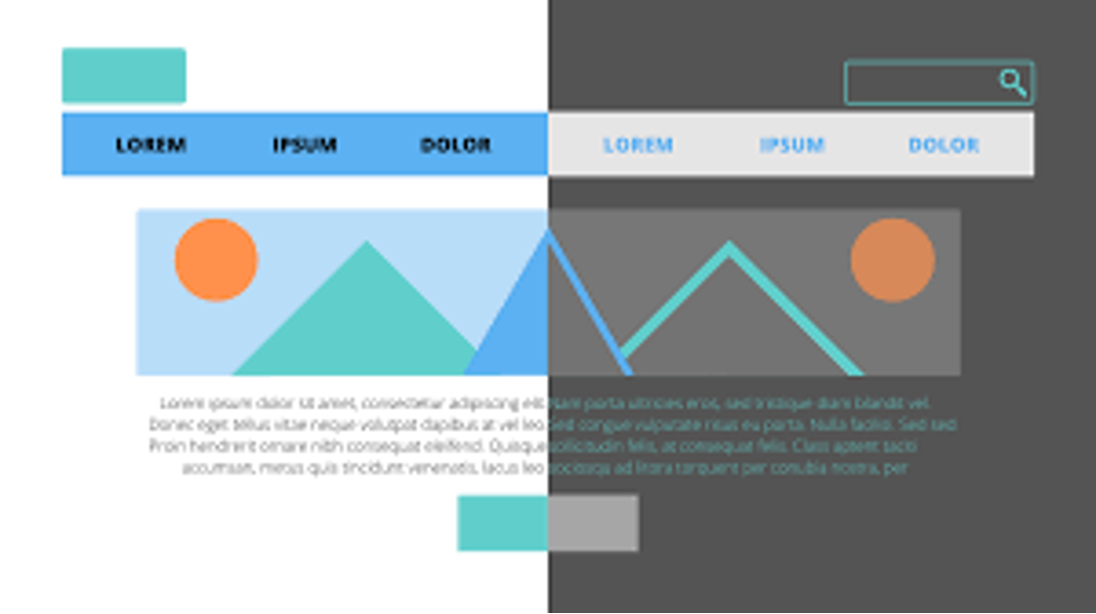


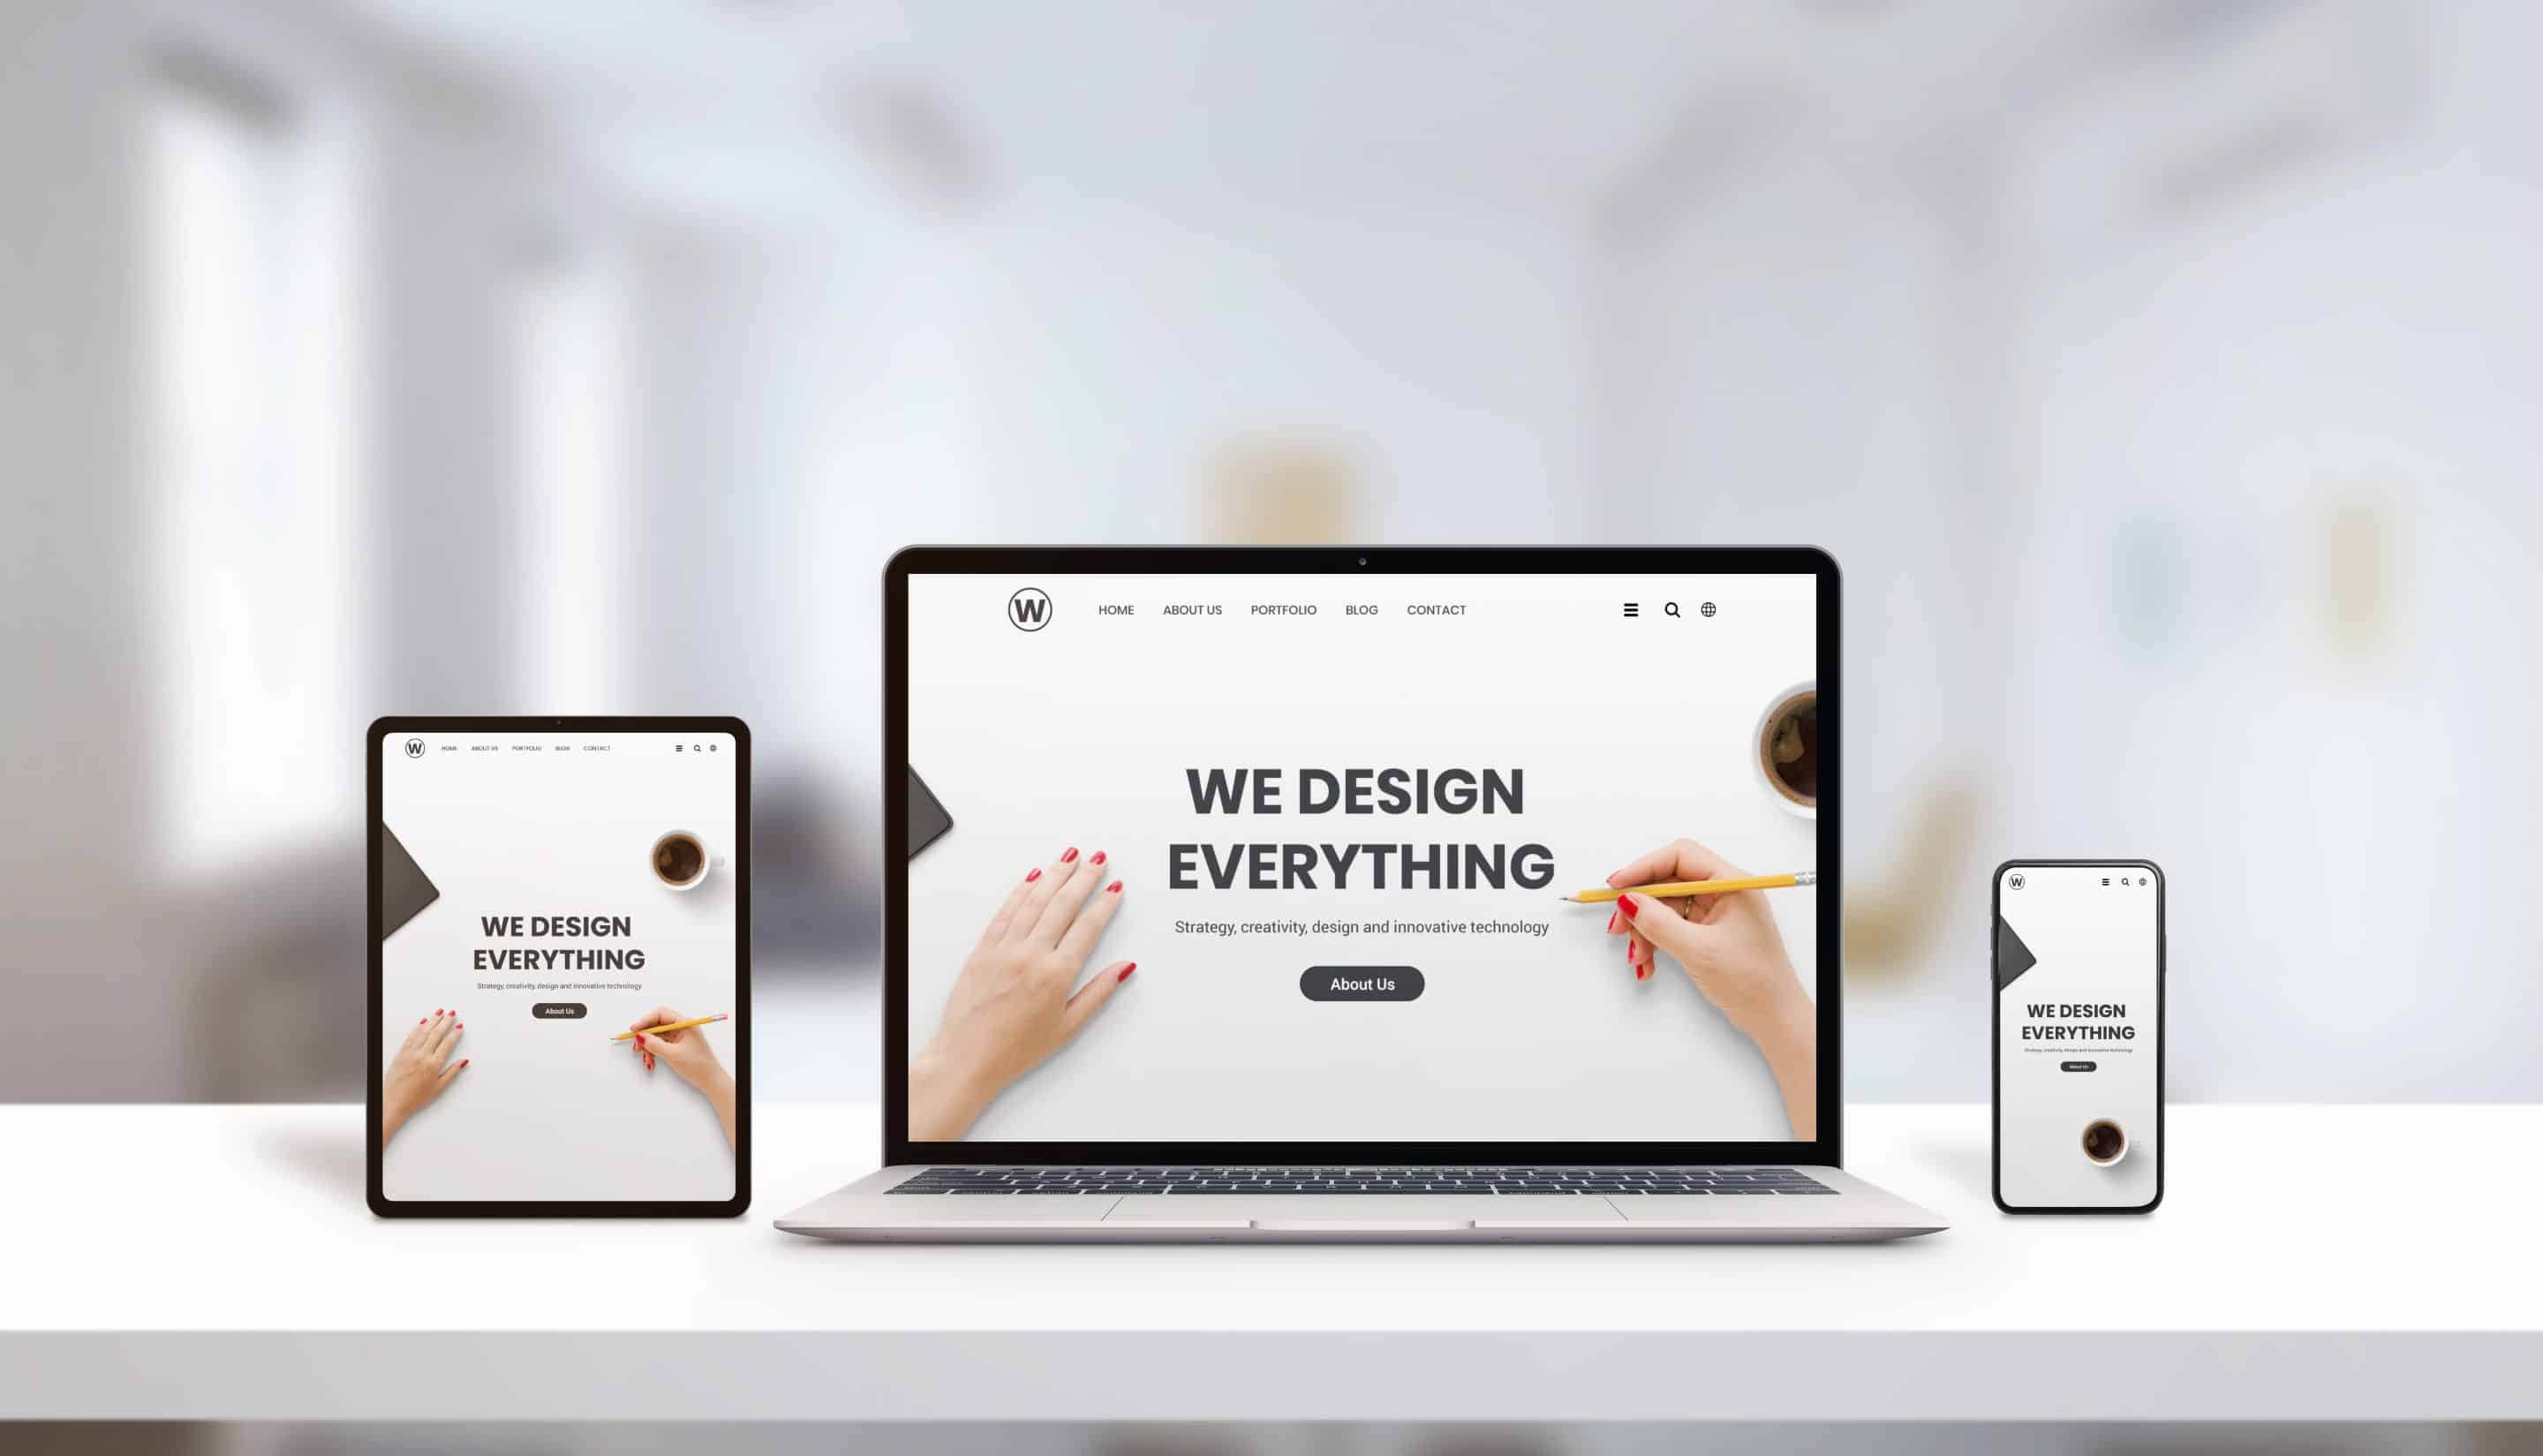


Have you ever visited a website on your phone and found yourself struggling to navigate through the content? Or maybe you've noticed that a website's layout looks completely different on your laptop versus your tablet. This is where responsive web design comes into play. In today's digital age, having a responsive website is crucial for success. And one of the most powerful tools in creating a responsive design is Flexbox.
What is Flexbox?
Flexbox, short for Flexible Box Layout, is a CSS (Cascading Style Sheets) module that allows developers to create dynamic and flexible layouts for their websites. It provides an efficient way to align and distribute elements within a container, regardless of the screen size or device being used.
Why Use Flexbox?
In the past, creating responsive layouts involved using complex calculations and multiple media queries. This often resulted in code that was difficult to maintain and update. With Flexbox, these issues are eliminated as it offers an easy and intuitive way to create responsive designs.
In addition, Flexbox helps solve common layout problems such as vertical centering and equal height columns without having to rely on workarounds or hacks. This makes it not only efficient but also more semantically correct.
Flex Your Layouts
The first step in using Flexbox is defining the container element as a flex container by adding “display: flex;” in its CSS properties. Once this is done, all direct child elements will become flex items and can be easily manipulated using various properties.
Let's take a look at some key properties of Flexbox:
1) Justify-content: This property controls how flex items are aligned along the main axis (horizontal). There are several options such as “flex-start”, “center”, “flex-end”, “space-between” and “space-around”. For example, if we want our elements to be evenly spaced out along the main axis, we can use “justify-content: space-between;”.
2) Align-items: This property controls how flex items are aligned along the cross axis (vertical). Similar to justify-content, there are options like “flex-start”, “center”, “flex-end” and “stretch”. For example, if we want our elements to be vertically centered, we can use “align-items: center;”.
3) Flex-direction: This property defines the direction in which flex items are placed within the container. By default, it is set to “row” which means items will be laid out horizontally. However, it can also be set to “column” for a vertical layout or even “row-reverse” and “column-reverse” for reverse ordering of items.
4) Flex-wrap: This property controls how flex items behave when there is not enough space within the container. By default, they will try to fit onto one line but if this is not possible, they will wrap onto a new line. This behavior can be altered with options such as “nowrap”, “wrap” and “wrap-reverse”.
5) Flex-grow: This property specifies how much an item should grow in relation to its siblings when there is extra space available within the container. For example, if we have three elements with a flex-grow value of 1 each, they will all grow equally when there is extra space. However, if one element has a value of 2 while the others have 1, it will grow twice as much.
6) Order: This property allows us to change the order in which flex items appear within the container. The default order is based on their position in the HTML markup but this can easily be changed by assigning different values to each item.
Flexbox also offers other useful properties such as align-self and flex-basis that allow for more precise control over individual elements within a container.
Flexing Your Design Skills
Now that we've covered some key properties of Flexbox, let's see it in action. Say we have a simple navigation menu with three links that we want to align evenly at the top of our website. We can achieve this by setting the container element as a flex container and using “justify-content: space-between;”.
But what if we want our navigation to be centered on the page instead? Easy! We just need to add “align-items: center;” to our container element and voila, perfectly centered navigation.
Flexbox also makes it easy to create equal height columns without using any hacks. Let's say we have a section with three columns of different heights. By adding “display: flex;” and “flex-direction: column;” to the container element and giving each column a flex-grow value of 1, they will all stretch out equally, creating an even layout.
Conclusion
Flexbox is truly a game-changer in responsive web design. It simplifies the process of creating flexible layouts, eliminates complex calculations and offers more control over elements within a container. With its growing browser support, it has become an essential tool for every web developer's toolkit. So go ahead and start flexing your design skills with Flexbox – your websites (and visitors) will thank you for it!

0 Comments